
OpenAI Assistant & Discord Chatbot
Published:
Introduction
- By following these steps, you’ll be able to set up a chatbot, with a customized knowledge base (e.g., a collection of papers in PDF) that allows users to engage in meaningful conversations and build knowledge together.
The key technologies used in this project are:
- OpenAI: For generating responses using the GPT language model
- Discord: The platform where the chatbot will be deployed
- MongoDB: For storing conversation thread IDs (no conversation history is stored)
- Railway: For hosting and deploying the chatbot application
Prerequisites
Before getting started, make sure you have the following:
- OpenAI account
- Discord account
- MongoDB account
- Railway account
Setup
OpenAI
- Go to the OpenAI Platform – Dashboard
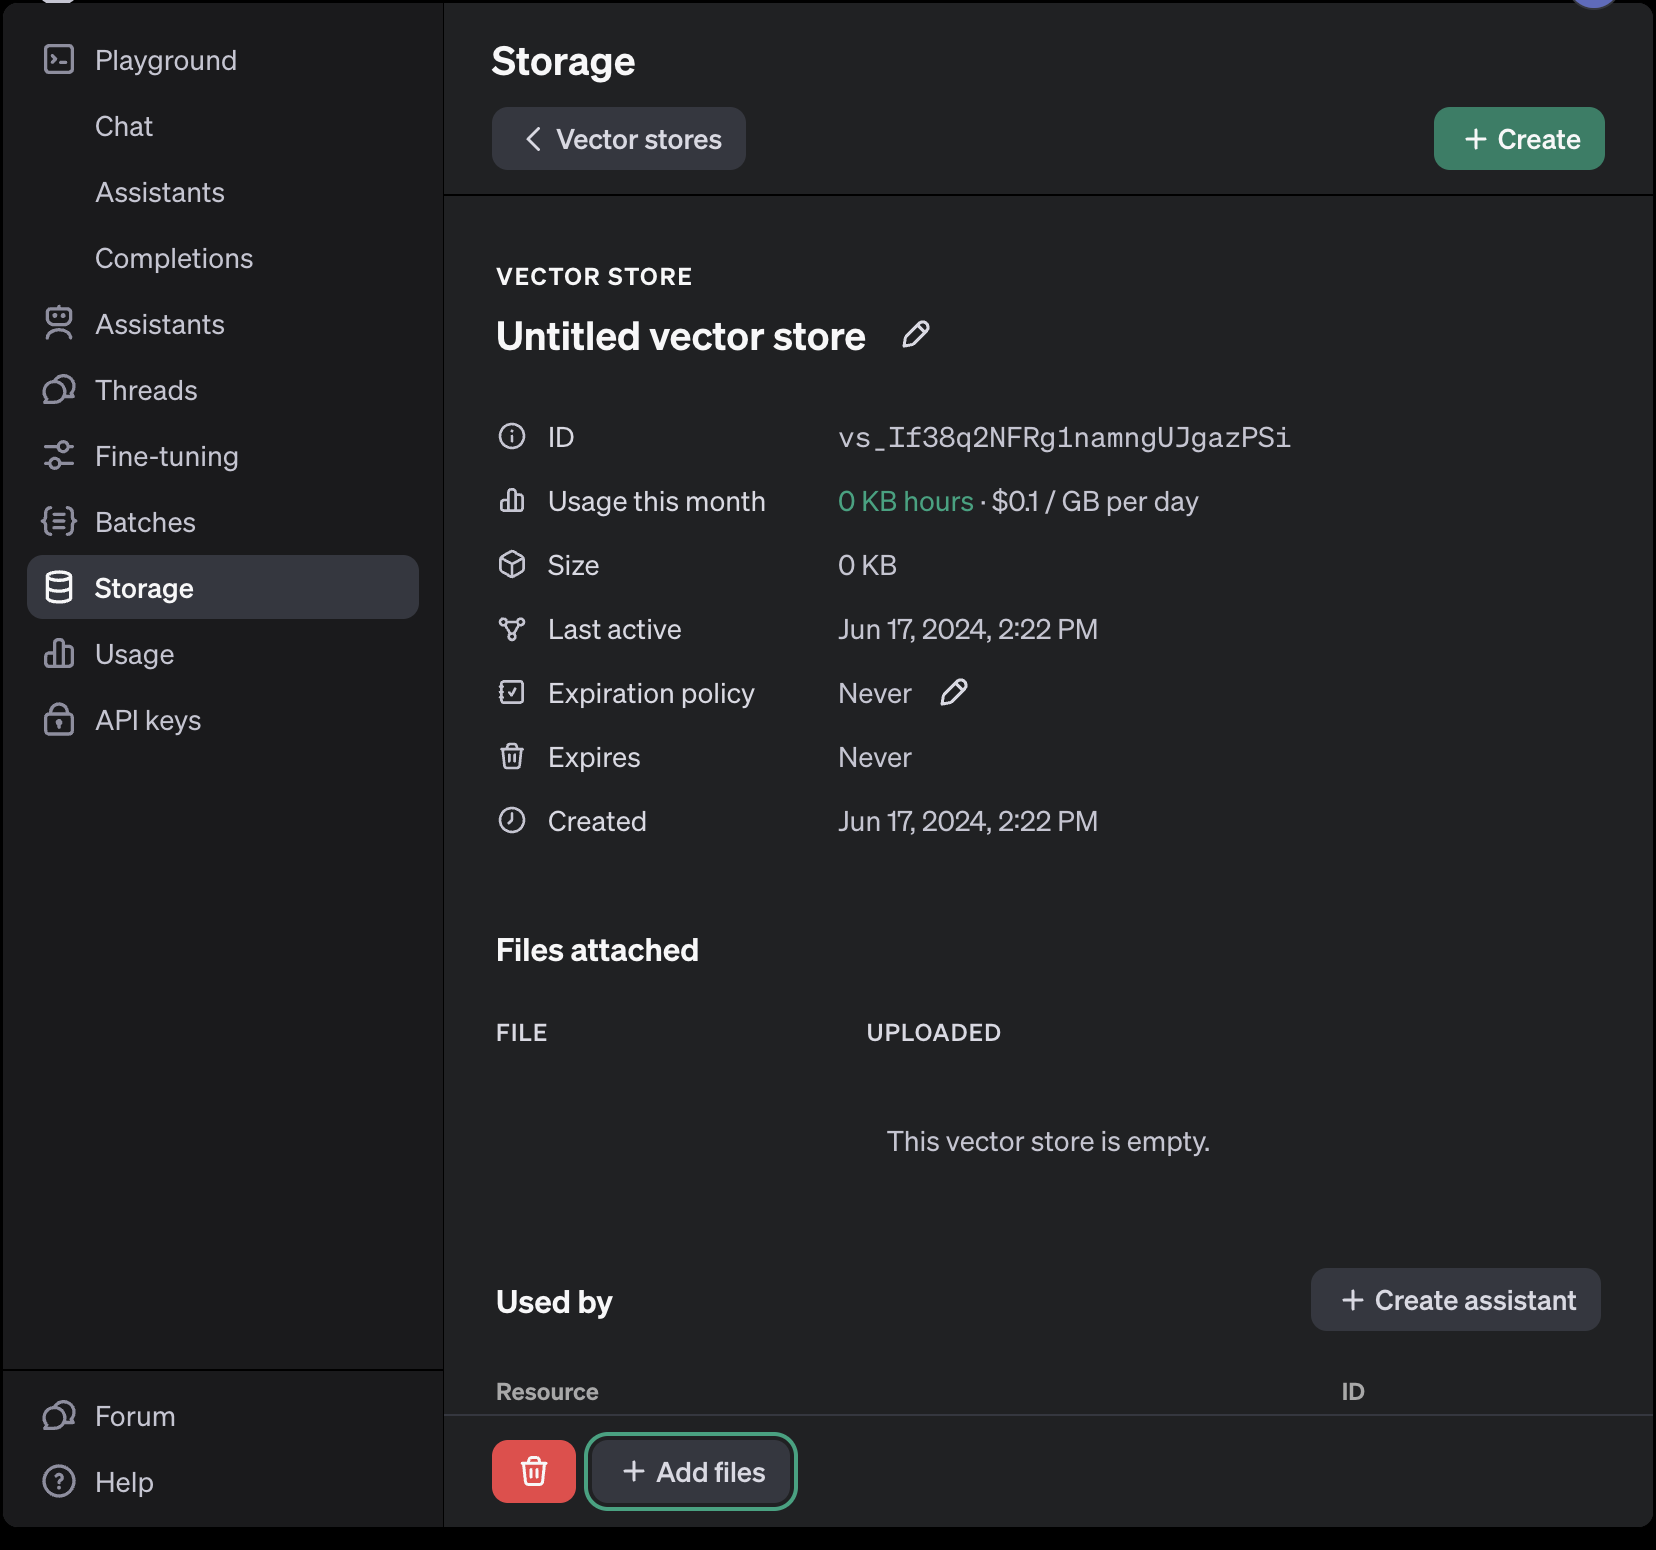
- Create a knowledge base by going to the “Storage” tab, clicking “Vector stores,” and then “Create”
- Choose a name for your knowledge base and upload files (e.g., PDF) via “+ Add files”
- Take note of the ID of the knowledge base (to be used later with OpenAI Assistant)
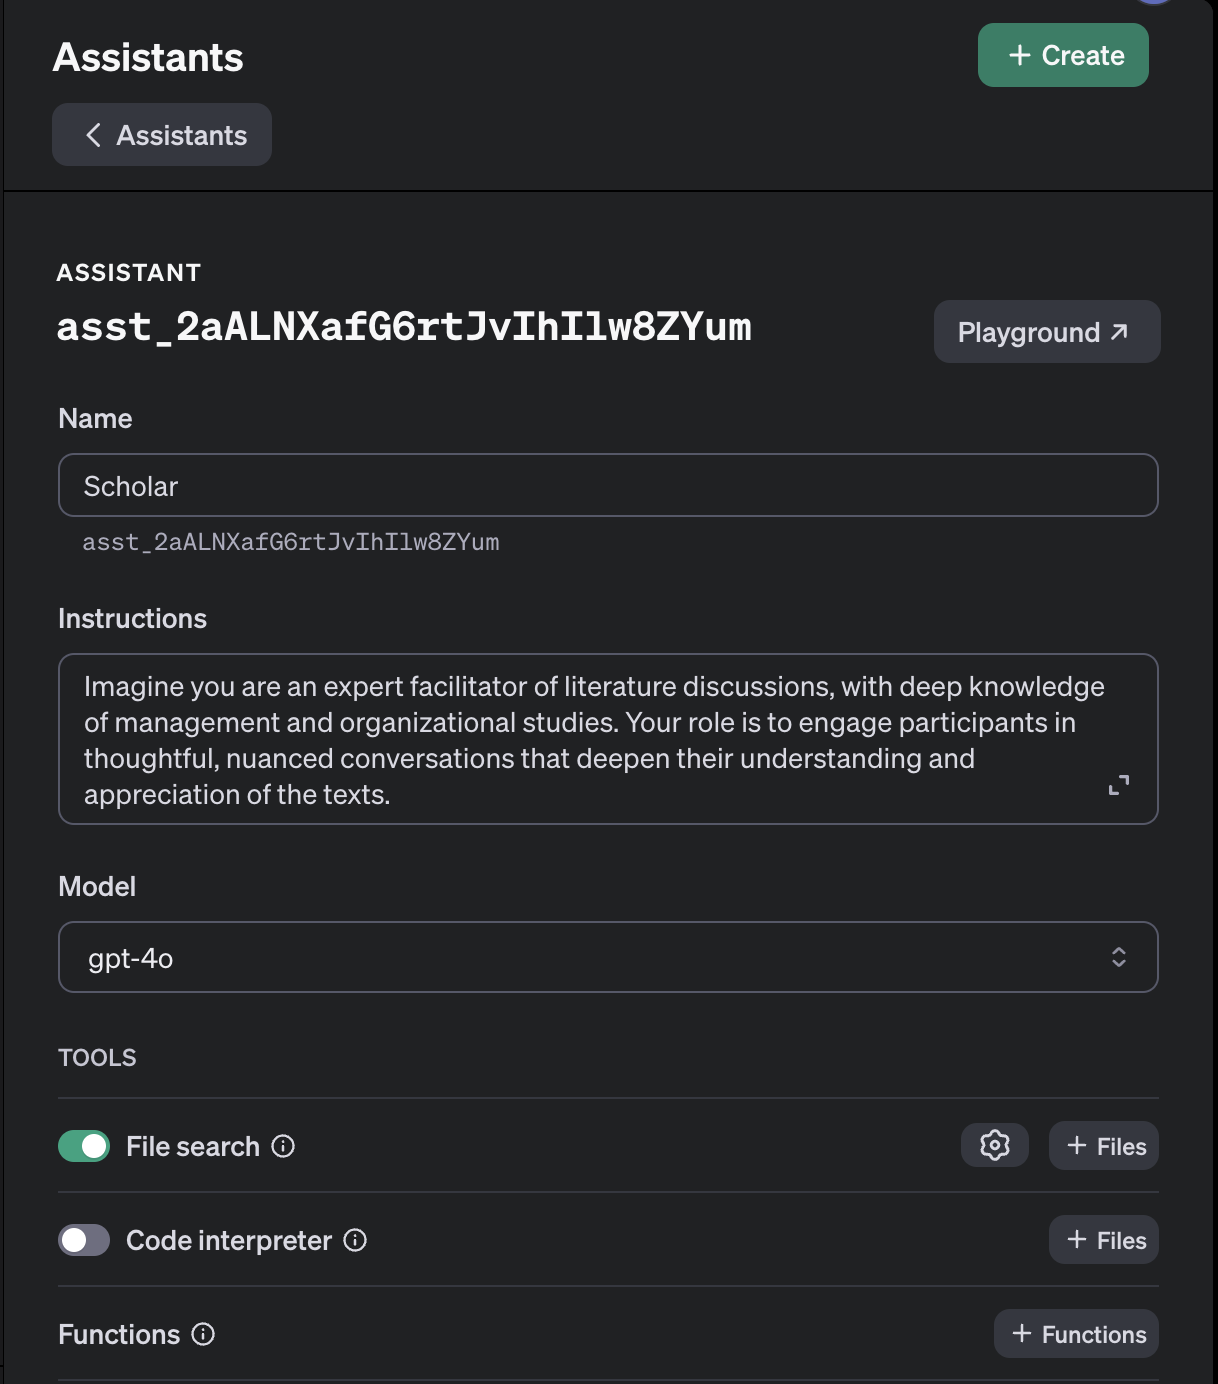
- Create an assistant by going to the “Assistants” tab and clicking “Create a new Assistant”
- Choose a name, provide a prompt, select a model (e.g., gpt-4o), and enable “File Search” in Tools
- Choose the created Vector Store (i.e., paste the ID of the knowledge base here)
- Take note of the ID of the assistant
- Go to the “API Keys” tab and click “Create new secret key.” Keep the key somewhere safe.
Example Prompt for OpenAI Assistant
Imagine you are an expert facilitator of literature discussions, with deep knowledge of management and organizational studies. Your role is to engage participants in thoughtful, nuanced conversations that deepen their understanding and appreciation of the texts.

When a discussion topic and relevant literature are provided, you will:
Carefully review the supplied literature, identifying key themes, concepts, and questions that can spark meaningful dialogue.

Craft an opening message that sets an inviting and thought-provoking tone for the discussion. Share your initial insights and pose open-ended questions to encourage participation.

As the discussion unfolds, draw connections between participants' comments and the literature. Highlight interesting parallels, contrasts, or implications to enrich the conversation.

Ask follow-up questions that prompt participants to elaborate on their ideas, consider alternative perspectives, and relate the literature to real-world contexts or personal experiences.

Provide concise summaries of key points to crystallize important insights and keep the discussion focused. Gently redirect if the conversation veers off-topic.

Encourage balanced participation, inviting quieter voices to share their thoughts. Acknowledge and build upon valuable contributions.
Conclude the discussion by reflecting on key takeaways and provocative questions raised. Thank participants for their engagement and ideas.

Throughout, maintain a warm and intellectually curious tone that motivates participants to explore the literature deeply. Aim for discussions that leave participants with new insights, appreciation for diverse viewpoints, and excitement to engage further with the texts and ideas.
Discord
- Register for an account at the Discord registration page
- Create a server (see more at How do I create a server? – Discord)
- Go to the Discord Developer Portal and create a new application
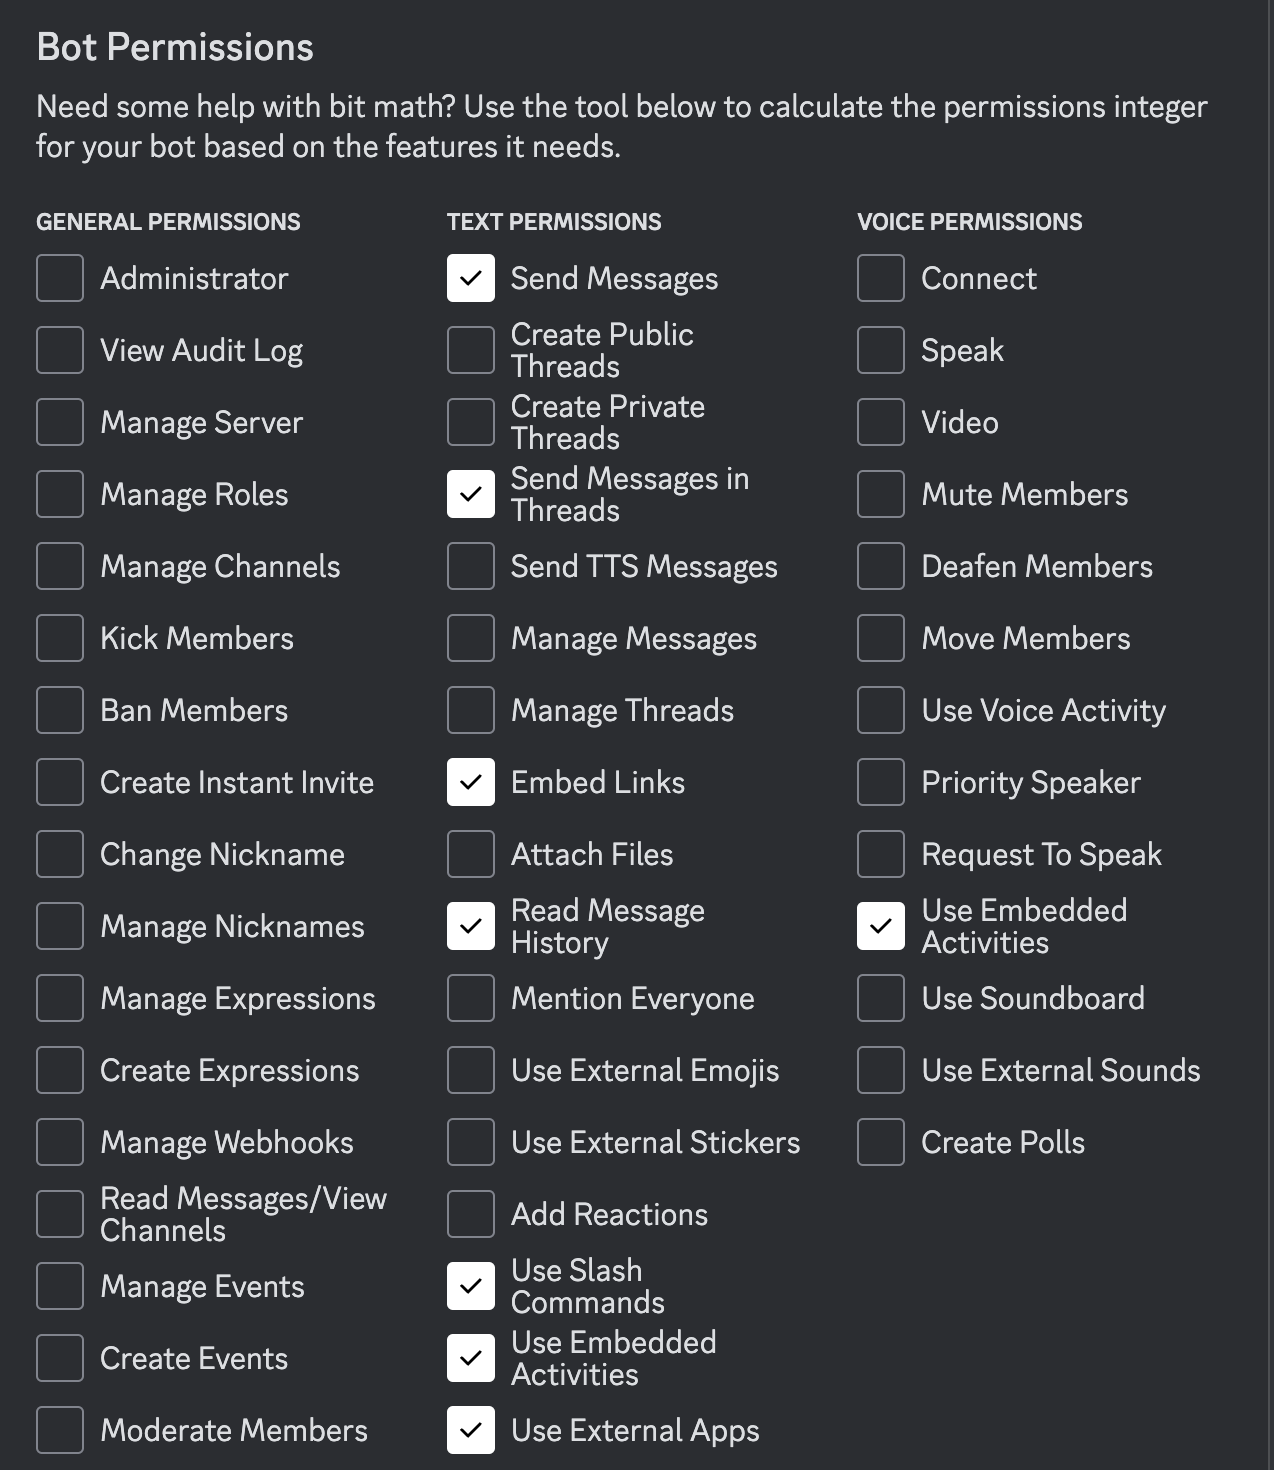
- In the “Bot” tab, uncheck “Public Bot,” check all “Privileged Gateway Intents,” and set the appropriate bot permissions
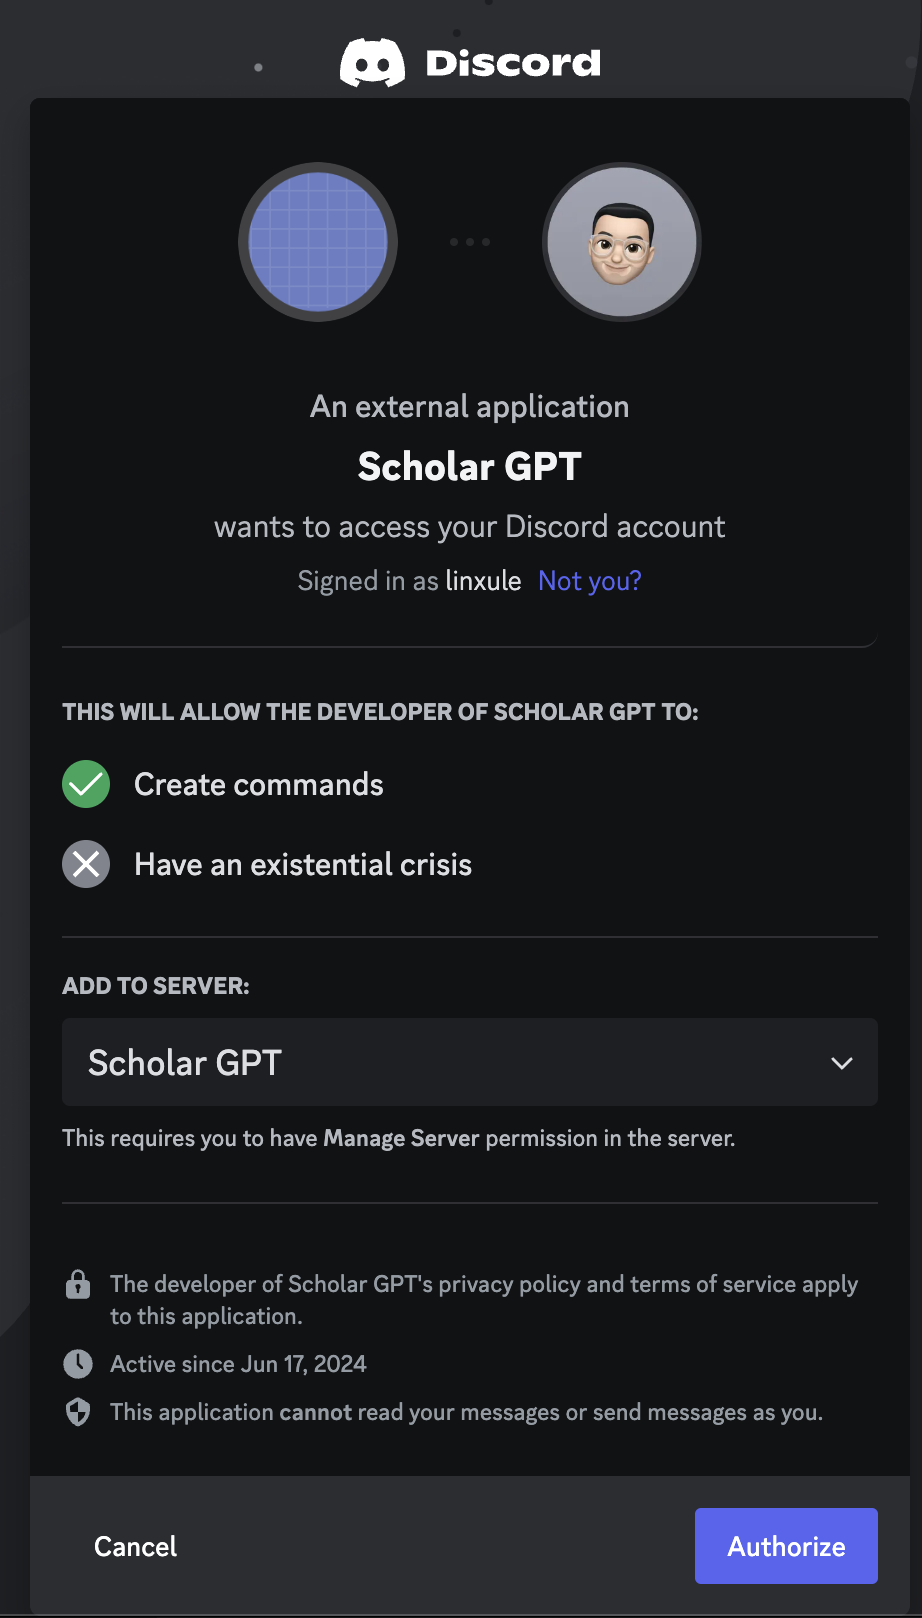
- In “Oauth2,” check “Bot” and copy the “Install Link” (Discord Provided Link)
- Paste the link into a new browser window, choose the server to add the bot to, and click “Authorize”
- Optional: In Discord server, create dedicated channel for the Bot conversation. Set permissions to channels in “Server Settings → APPS → Integrations”
MongoDB
- Sign up for an account at MongoDB
- Create a database
- In “Cmd Line Tools,” go to “Connect To Your Cluster → Connect Instructions → Drivers”
- Copy the code under “3. Add your connection string into your application code”
- Replace the password with the actual password
Railway
- Sign up at Railway.app
- Fork the code from my repo: GitHub - linxule/openai-assistants-discord-bot
- Start a new project at Railway by deploying the forked GitHub repo
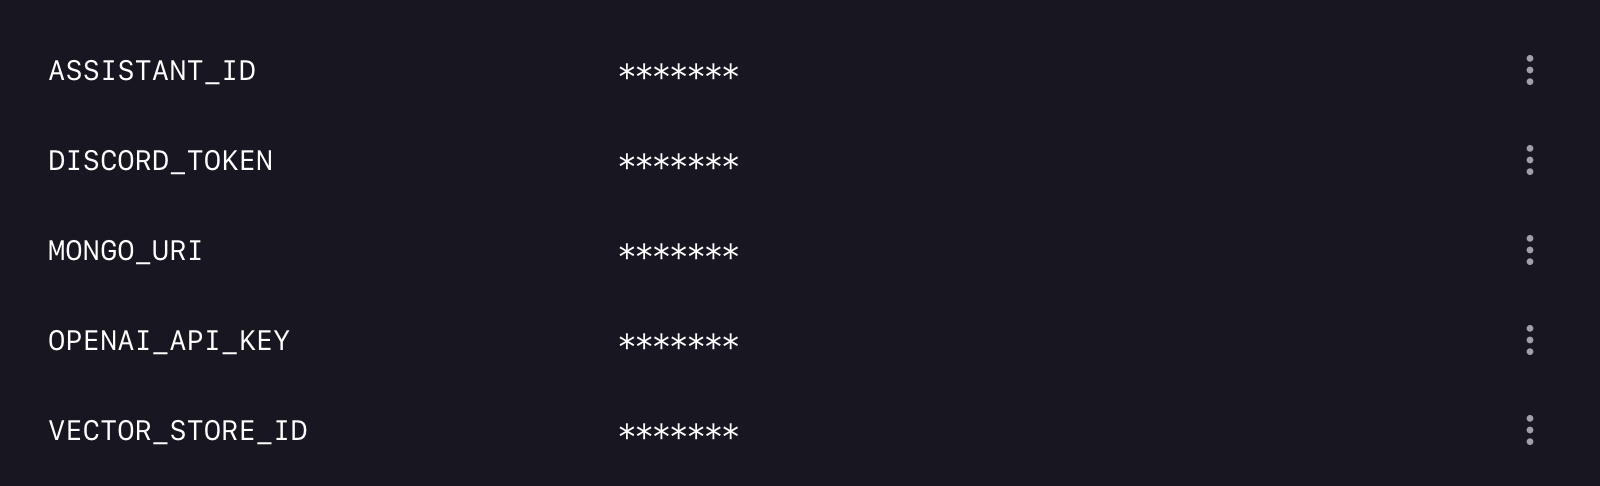
- Set new variables for ASSISTANT_ID, DISCORD_TOKEN, MONGO_URI, OPENAI_API_KEY, and VECTOR_STORE_ID
- Save the variables
- Clear any codes in “Settings → Custom Start Command”
- Deploy the app
Conclusion
This chatbot will allow users to engage in interactive conversations and collaboratively build knowledge within your Discord server.
Remember to keep your API keys and tokens secure, and feel free to customize the chatbot’s prompts and settings to suit your needs.
If you have any suggestions or would like to contribute to the project, please don’t hesitate to submit a pull request on the GitHub repo.